2.1.1. Boot the Install Image
Download the 4GB
CentOS 7.5 DVD ISO. Use the image to boot a virtual machine, or burn it to a DVD or USB drive and boot a physical server from that.
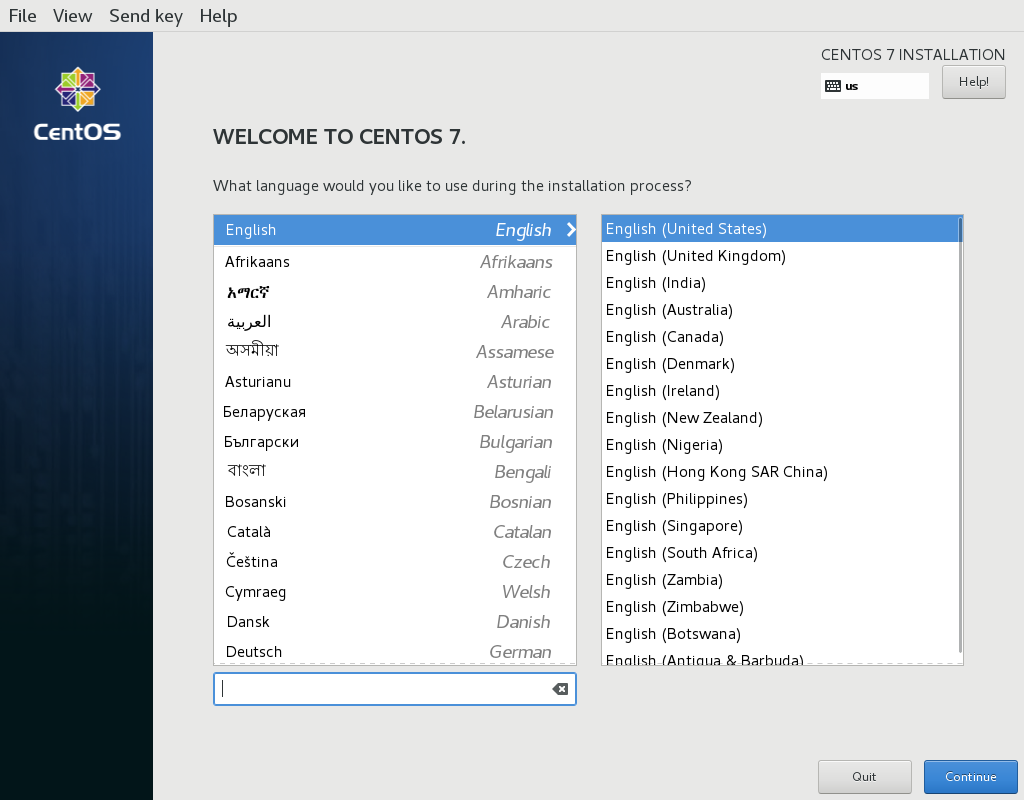
After starting the installation, select your language and keyboard layout at the welcome screen.
2.1.2. Installation Options
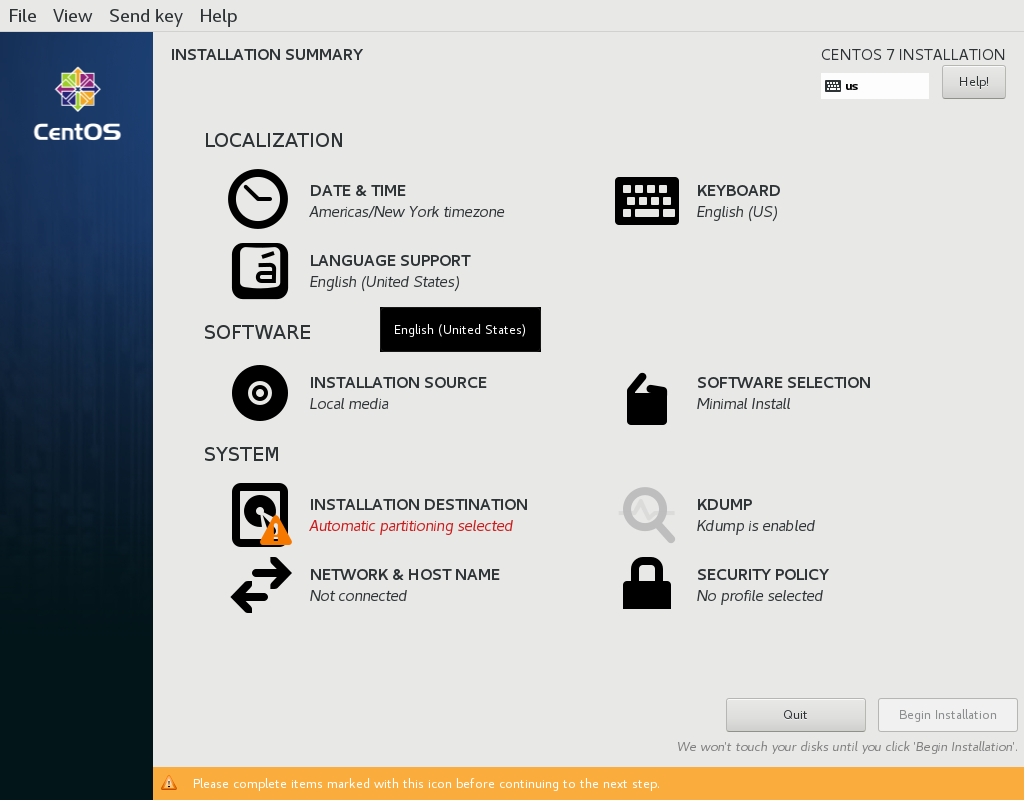
At this point, you get a chance to tweak the default installation options.
Ignore the SOFTWARE SELECTION section (try saying that 10 times quickly). The Infrastructure Server environment does have add-ons with much of the software we need, but we will leave it as a Minimal Install here, so that we can see exactly what software is required later.
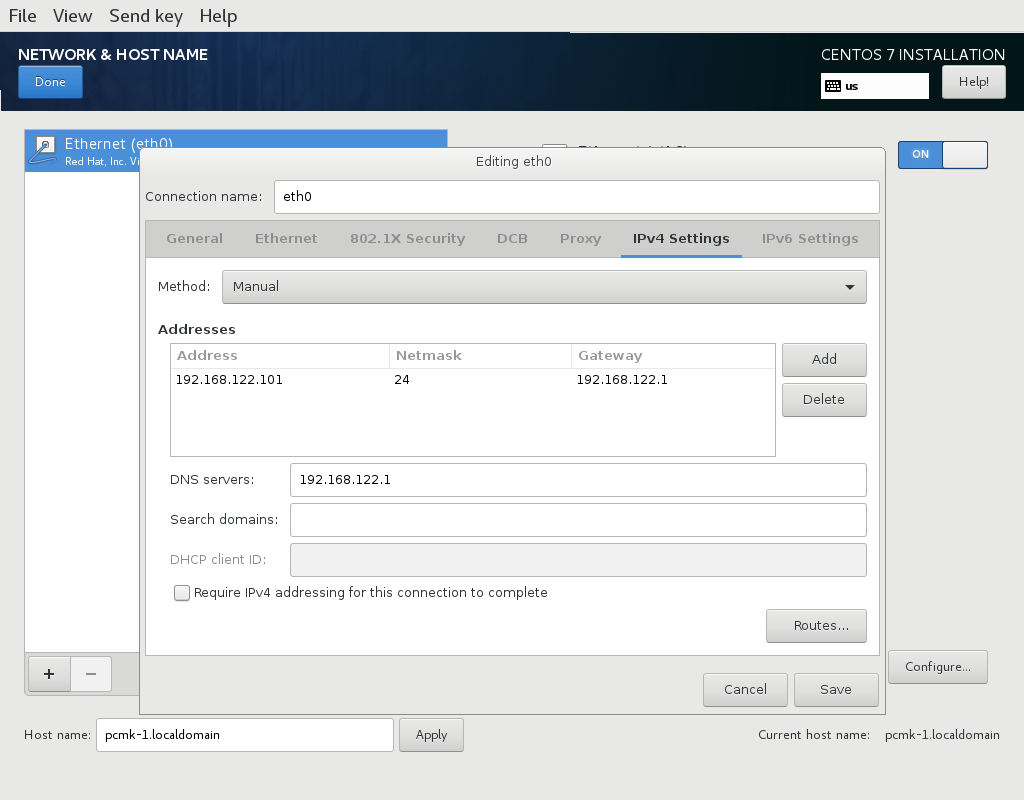
In the NETWORK & HOSTNAME section:
Edit Host Name: as desired. For this example, we will use pcmk-1.localdomain.
Select your network device, press Configure…, and manually assign a fixed IP address. For this example, we’ll use 192.168.122.101 under IPv4 Settings (with an appropriate netmask, gateway and DNS server).
Flip the switch to turn your network device on, and press Done.
Do not accept the default network settings. Cluster machines should never obtain an IP address via DHCP, because DHCP’s periodic address renewal will interfere with corosync.
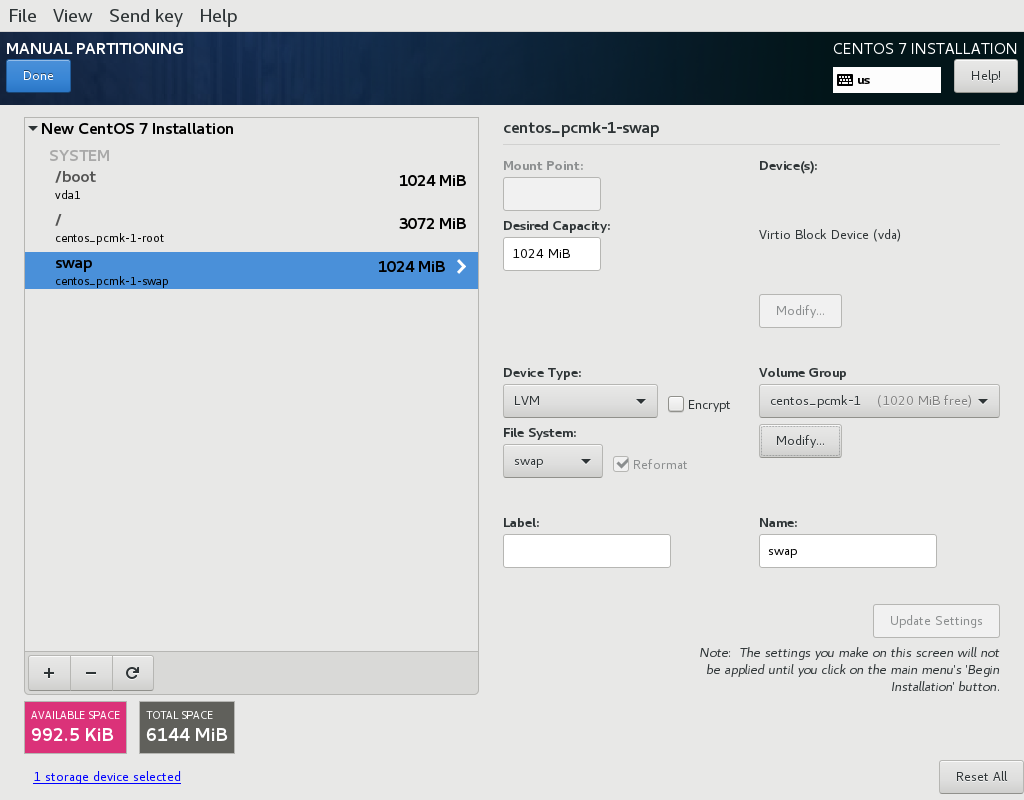
By default, the installer’s automatic partitioning will use LVM (which allows us to dynamically change the amount of space allocated to a given partition). However, it allocates all free space to the / (aka. root) partition, which cannot be reduced in size later (dynamic increases are fine).
In order to follow the DRBD and GFS2 portions of this guide, we need to reserve space on each machine for a replicated volume.
Enter the INSTALLATION DESTINATION section, ensure the hard drive you want to install to is selected, select I will configure partitioning, and press Done.
In the MANUAL PARTITIONING screen that comes next, click the option to create mountpoints automatically. Select the / mountpoint, and reduce the desired capacity by 1GiB or so. Select Modify… by the volume group name, and change the Size policy: to As large as possible, to make the reclaimed space available inside the LVM volume group. We’ll add the additional volume later.
Press Done, then Accept changes.
2.1.5. Configure Time Synchronization
It is highly recommended to enable NTP on your cluster nodes. Doing so ensures all nodes agree on the current time and makes reading log files significantly easier.
CentOS will enable NTP automatically. If you want to change any time-related settings (such as time zone or NTP server), you can do this in the TIME & DATE section.
Select Begin Installation. Once it completes, set a root password, and reboot as instructed. For the purposes of this document, it is not necessary to create any additional users. After the node reboots, you’ll see a login prompt on the console. Login using root and the password you created earlier.
From here on, we’re going to be working exclusively from the terminal.