2.1. Instalarea Sistemului de Operare
Burn the disk image to a DVD
and boot from it. Or use the image to boot a virtual machine as I have done here. After clicking through the welcome screen, select your language and keyboard layout
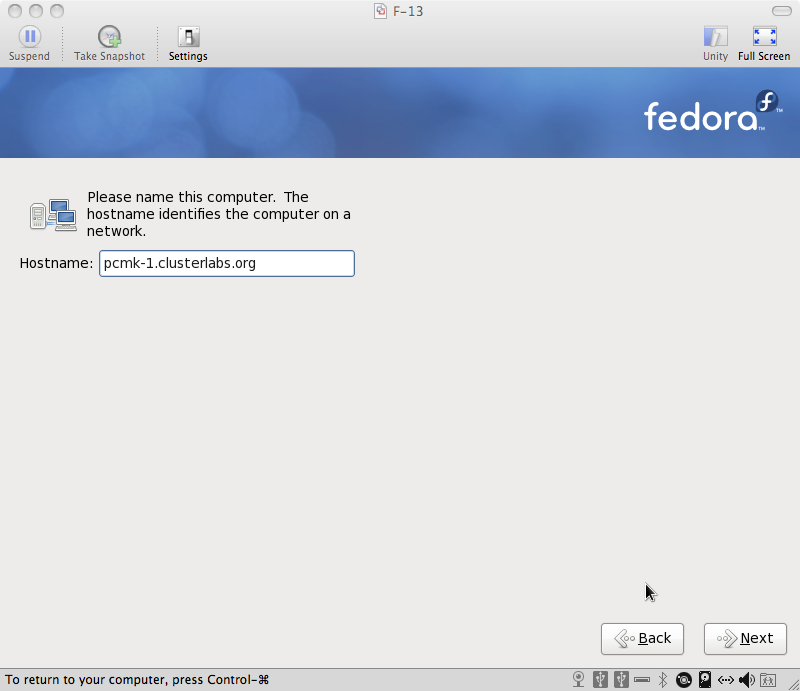
Assign your machine a host name.
I happen to control the clusterlabs.org domain name, so I will use that here.
You will then be prompted to indicate the machine’s physical location and to supply a root password.
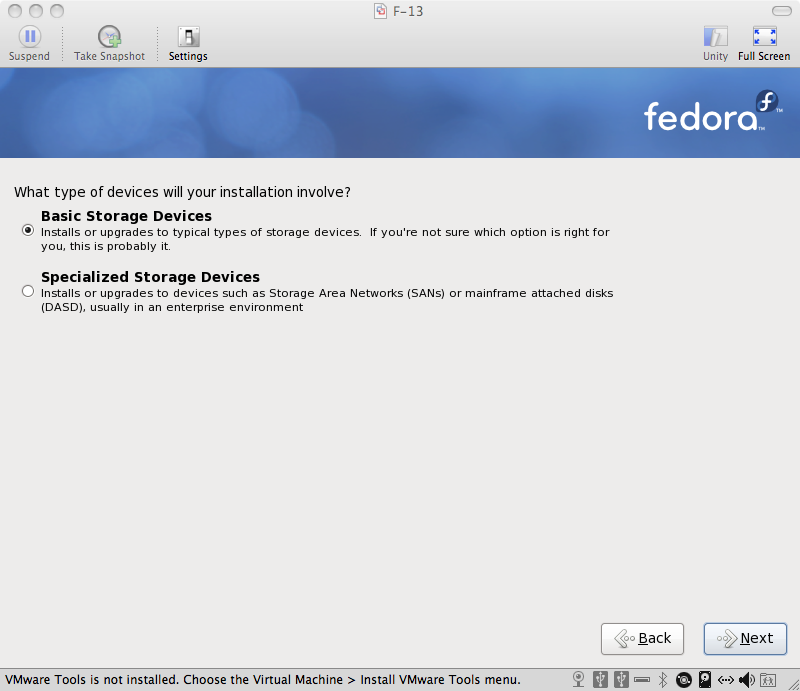
Now select where you want Fedora installed.
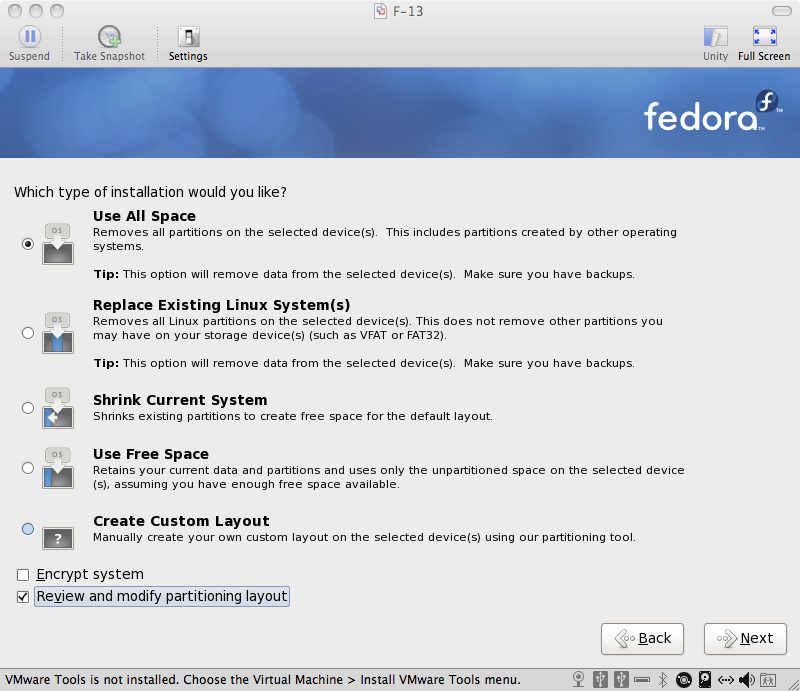
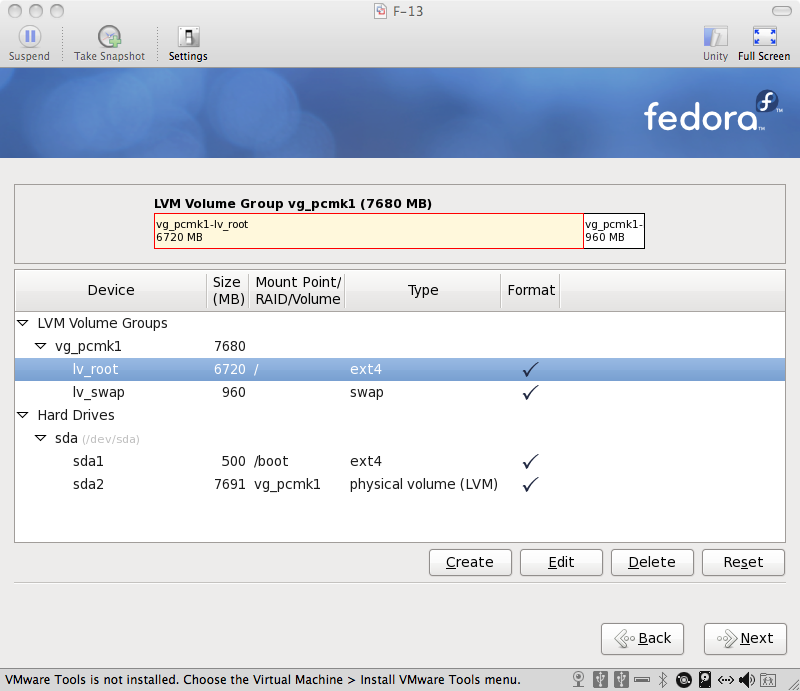
As I don’t care about any existing data, I will accept the default and allow Fedora to use the complete drive. However I want to reserve some space for DRBD, so I’ll check the Review and modify partitioning layout box.
By default, Fedora will give all the space to the / (aka. root) partition. Wel’ll take some back so we can use DRBD.
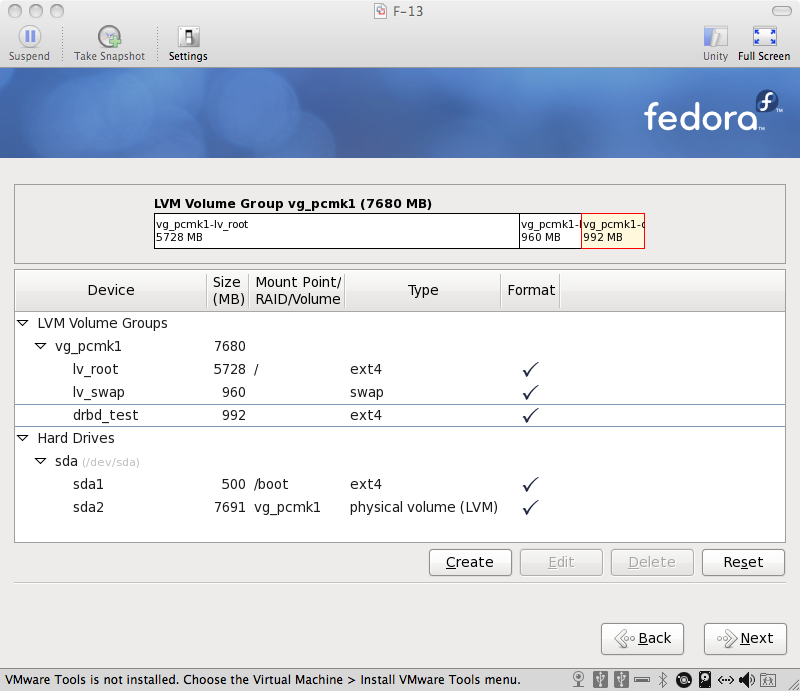
Așezarea finalizată a partițiilor ar trebui să arate asemănător cu diagrama de mai jos.
If you plan on following the DRBD or GFS2 portions of this guide, you should reserve at least 1Gb of space on each machine from which to create a shared volume. Fedora Installation - Customize PartitioningFedora Installation: Create a partition to use (later) for website data
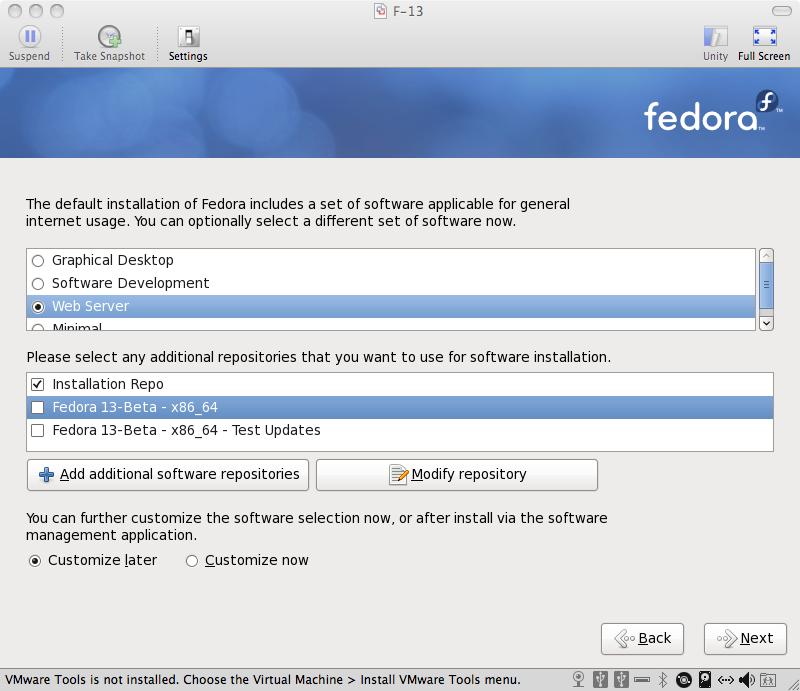
Next choose which software should be installed. Change the selection to Web Server since we plan on using Apache. Don’t enable updates yet, we’ll do that (and install any extra software we need) later. After you click next, Fedora will begin installing.
Go grab something to drink, this may take a while
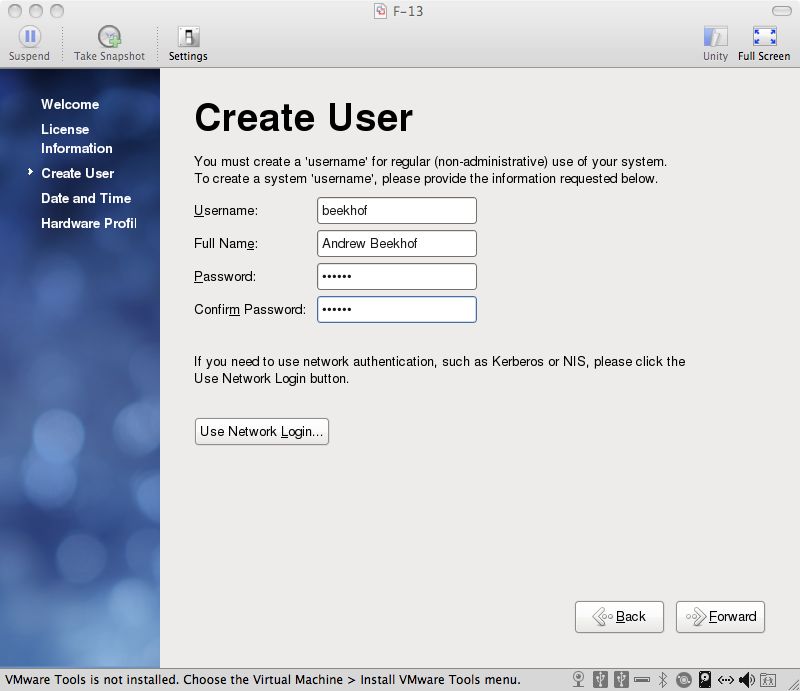
Once the node reboots, follow the on screen instructions
to create a system user and configure the time.
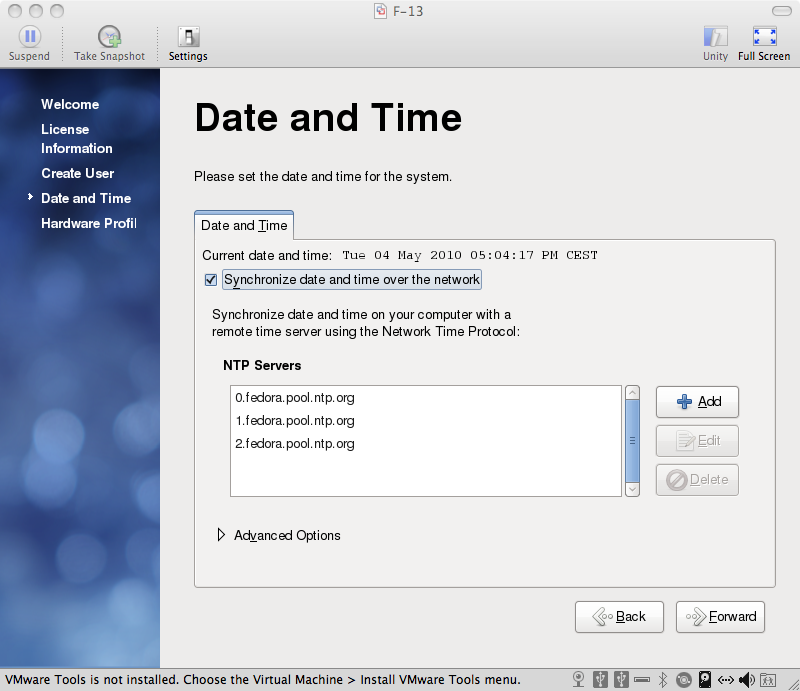
It is highly recommended to enable NTP on your cluster nodes. Doing so ensures all nodes agree on the current time and makes reading log files significantly easier. Fedora Installation - Date and TimeFedora Installation: Enable NTP to keep the times on all your nodes consistent
Selectați cu mouse-ul prin următorul ecran până ajungeți la fereastra de login. Selectați utilizatorul pe care l-ați creat și furnizați parola pe care ați ales-o mai devreme.
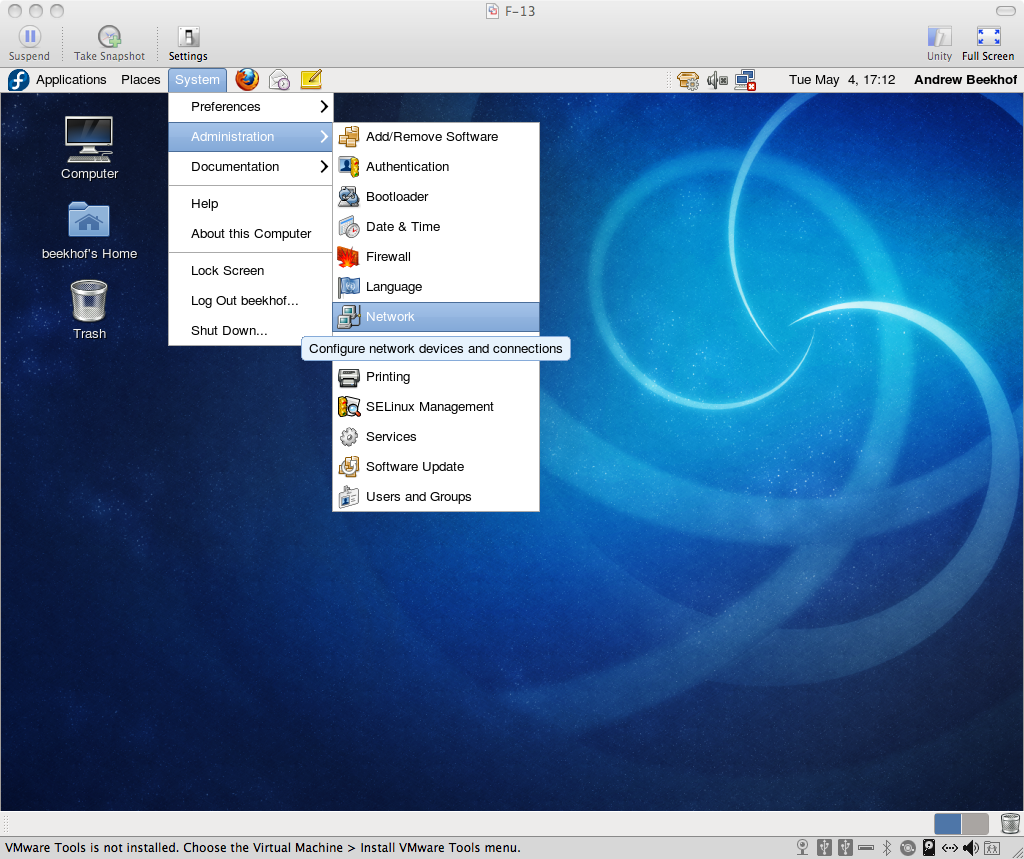
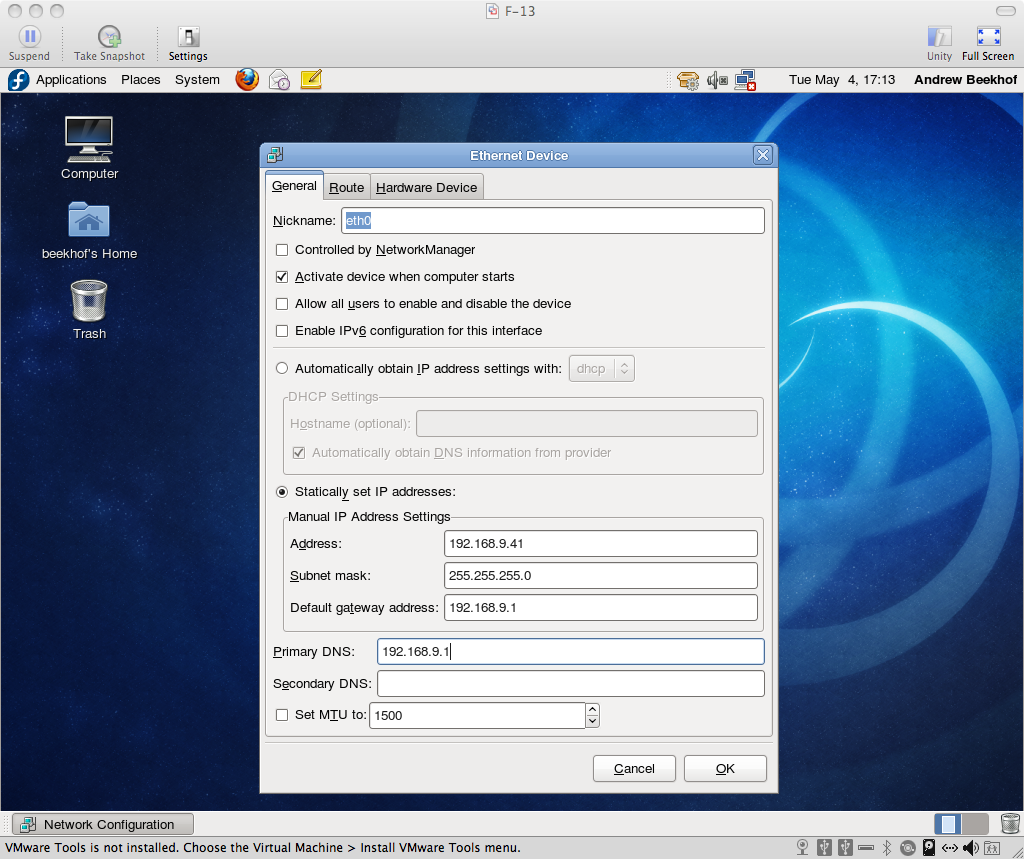
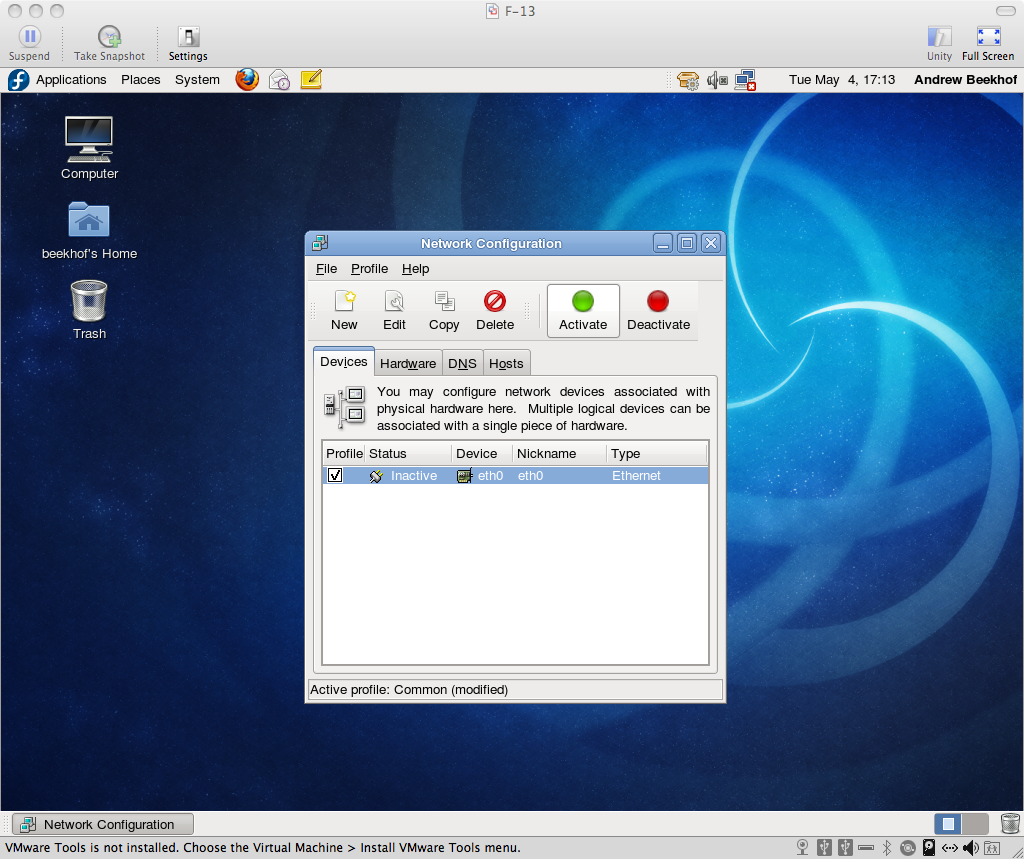
Do not accept the default network settings. Cluster machines should never obtain an ip address via DHCP. Here I will use the internal addresses for the clusterlab.org network.
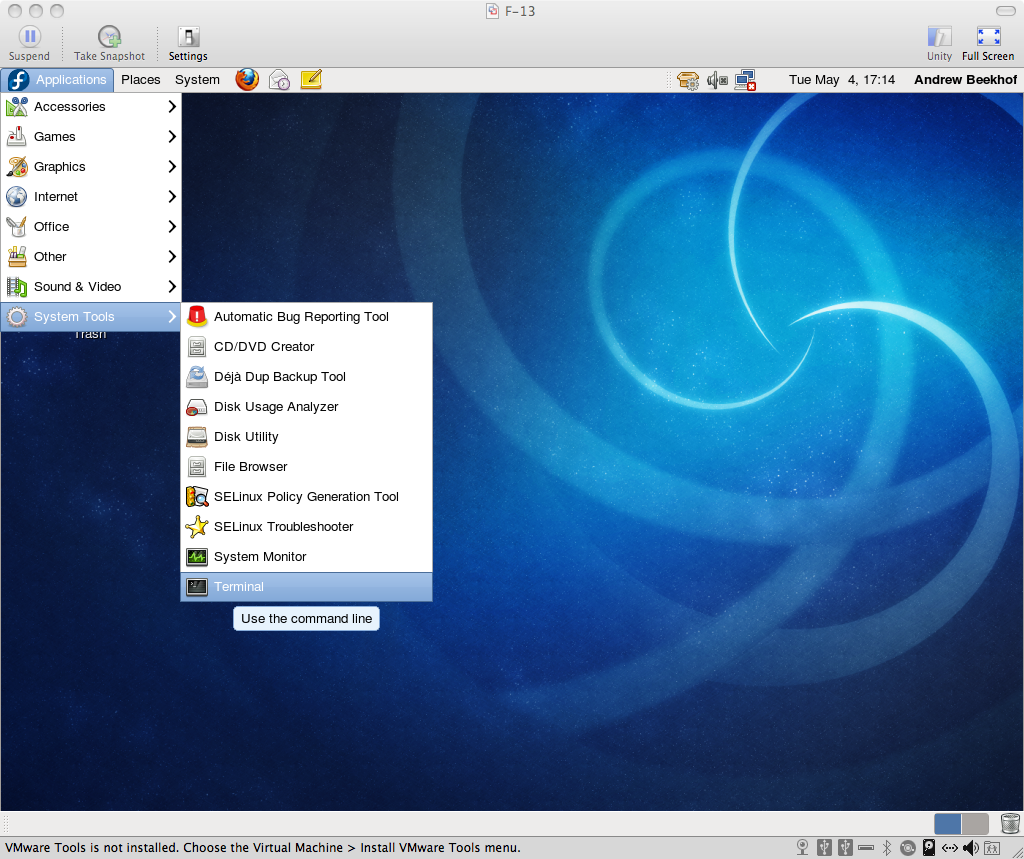
Aceea a fost ultima captură de ecran, de aici înainte vom lucra de la terminal.